
Setup Ruby
Remove the default Ubuntu install, otherwise you’ll get an error You don't have write permissions for the /var/lib/gems/3.x.x Directory and configure Ruby to install gems to a folder in your home.
sudo apt-get remove ruby
sudo apt-get install rbenv ruby-dev
echo '# Install Ruby Gems to ~/gems' >> ~/.bashrc
echo 'export GEM_HOME="$HOME/gems"' >> ~/.bashrc
echo 'export PATH="$HOME/gems/bin:$PATH"' >> ~/.bashrc
source ~/.bashrc
Install Jekyll
gem install bundler jekyllCreate a new project
jekyll new project_name
cd project_name
Edit project
Jekyll has excellent documentation, the step-by-step guide will get you up to speed. In a pinch, edit _config.yml, index.markdown, about.markdown, and the default post in _posts. It’s self explanatory.
jekyll serve --watchBuild for deployment
bundle exec jekyll buildOnce built, the site will be in _site ready to deploy. I’m using an AWS S3 bucket (because it’s a static site). If you’ve awscli installed then:
aws s3 sync _site s3://<BUCKET_NAME>In AWS you’ll need to create an S3 bucket and enable static website hosting and use that as <BUCKET_NAME> above.
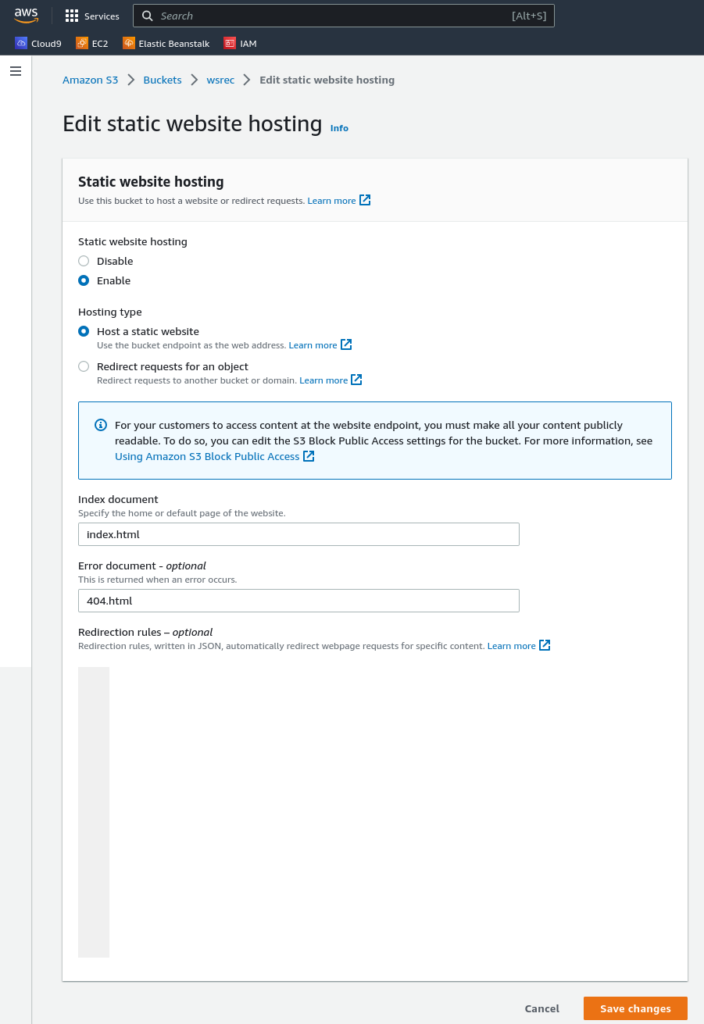
You’ll also need to set a bucket policy – replace <BUCKET_NAME>:
{
    "Version": "2012-10-17",
    "Statement": [
        {
            "Sid": "PublicReadGetObject",
            "Effect": "Allow",
            "Principal": "*",
            "Action": "s3:GetObject",
            "Resource": "arn:aws:s3:::<BUCKET_NAME>/*"
        }
    ]
}
Leave a Reply